Showing posts with label cards. Show all posts

Monday, 29 February 2016

Cards by a very young fizzi~jayne....

My Mum was having a clear out and came across a couple of cards that I made her when I was young.  With Mother's Day coming up this weekend I thought I would share them with you, have a giggle at these....

It looks like I was after a cat. I never got one!

I remember getting a flower pressing kit for a gift and I used this for the flower

and inside I constructed a pop up trophy! Not sure about the dodgy looking handwriting though, eek! 
I like to think that my cards and creative skills have improved!

My ambitions to start my own company must have started early, look at the "branding" on the back of the cards....


I didn't know my Mum had kept them. It has been fun to look back and the memories they have sparked, thanks Mum x

fizzi~jayne x

Pssst... If you still need to get something for your Mum for Mother's Day, the last date to order from my shop is 1st March 2016.

Monday, 1 February 2016

It's February already?!....

January has flown by and the year so far has been busy; planning the year ahead, filing my tax return and making new products.

Work has started on one of my goals to grow my business online by making new products and I have recently listed new goodies for Valentine's Day....

Find all my new products in my Folksy Shop
My designs aren't too mushy but made to make someone feel loved and appreciated. 

One of the stamps I used for some of my cards took me back to my childhood as it reminded me of the retro label maker I had back in the 80s (I'm probably showing my age now!).

You Inspire Me

You Are Awesome
You Are My Sunshine
A Funny Valentine
 I also added a coaster design....

You Are Just My Cup Of Tea Coaster

February looks like it is going to be a busy one as well with more new products being made for Mother's Day, a #CraftBlogClub challenge to start and I'll be attending an Enterprise Nation seminar as well as an inspirational trip to the Liberty in Fashion exhibit.

fizzi~jayne x
Thursday, 17 December 2015

A quick Christmas card tutorial....

If you still want to make your Christmas cards but you have a lot to make in a short space of time, I have put this tutorial together to make quick cards using my Silhouette Cameo and paper stash.  They are perfect if you have a lot to make or left them to the last minute, like me!


What I used:
  • Silhouette Cameo
  • This stag cutting file
  • This holly cutting file (If you don't have a Silhouette machine but have other cutting machines I'm sure they will have similar files.  If you only have a manual cutting machine you can use Christmassy dies instead.)
  • Textured Mirror Card
  • Christmas paper, you can use any paper or card you already have. It's a great way to use up your stash or even wrapping paper.
  • Card blanks and envelopes, I used two sizes, 6" x 6" (15.24 x 15.24 cm) and 4.75" x 4.75" (12 x 12cm).
  • A good quality PVA glue
  • Double sided tape
  • Gems and embellishment from your stash
  • Optional, 3D silicone glue gel

What I did...


Using the Silhouette Cameo I cut out as many stag and holly shapes I could fit on to A4. The size of the stag and holly will depend on the size of card you use, but for my cards I used sizes:

Stag: 5 x 5.4 inches (12.7 x 13.7 cm) and 4.4 x 4.6 inches (11 x 11.6 cm)
Holly: 3.7 x 2 inches (9.3 x 5 cm) and 3.2 x 1.8 inches (8 x 4.6 cm)

Cut Christmas paper to fit the card.  Sometimes I like to leave a border so I cut 5.5 inches (approx 14cm) to fit my 6 inch square cards.


Top Tip! - When applying paper/card to the card blank I prefer to use double sided tape as it is super sticky but it's not easy to reposition if you get it in the wrong place.  So I put the tape on my paper remove the backing at the corners only, don't take it all off, and ensure the backing is folded back as the picture below....


Where the tape is exposed use a little PVA glue on top of the tape then position on the card blank. The glue will allow you to wiggle the paper into position, once you are happy you can pull the backing of the tape off whilst the glue in the corner keeps the paper in position.

Now you are ready to stick the stag onto the card using glue or to give the card dimension you can use 3D Silicone Glue Gel.  On this card I've added the holly to the corner....


Time to get out your stash of gems, buttons and other embellishments.  

I've added a gem to this stag's nose and to the holly berries....


If you have any die cut sentiments you can use these or why not stamp your own?

You don't need to use the holly, on some of the smaller cards I only used the stag's head...


On this card I also used 3D silicone glue to raise the head slightly.
 Don't be afraid to cut into the holly and use elements of it for a flourish on the corner, like what I've done here...


These cards are super easy and quick to make but each one can be made individual just by changing the colour, backing paper or embellishments you choose to use. Here are some more examples....


If you make cards inspired by this tutorial I'd love to see them.

Right, I need to write all my cards and get them in the last post! Next year I will be more organised!

fizzi~jayne x

Saturday, 3 January 2015

#CraftBlogClub Secret Santa Reveal....

Happy New Year! 

I hope the year has started well for you.  Do you have any resolutions? I have goals I want to achieve this year and I'm thinking about what I am going to do to make them happen, but more of that another time.  I have Christmassy things I want to share with you, first off is the #CraftBlogClub Secret Santa....

In November last year, my co-host Katie launched #CraftBlogClub Secret Santa Challenge, obviously I signed up straight away!

I received my gift from Kay the week before Christmas but I couldn't wait to open these goodies....

They were beautifully wrapped

Kay sent me a lovely package, as well as a very pretty handmade card she also made a Christmas decoration for my tree....


The stocking suited my colour scheme perfectly and looked so pretty on my tree. I loved the bell on it too.  This will make an appearance every year on my tree alongside the Secret Santa I received last year

Kay is from Cornwall and also in my present was a Cornish Piskie....


I have put him in my purse with the hope he brings me wealth!

This is not all, Kay also sent me some yummy Cornish chocolate, Christmas pudding flavour Mmmmm! I did wait until after Christmas to eat it but it did go in one sitting!


Thank you Kay! I loved my Secret Santa!

You can check out Kay's crafty blog here, but before you do, check out the Secret Santa gift I made....

My Secret Santa was for Zoe...


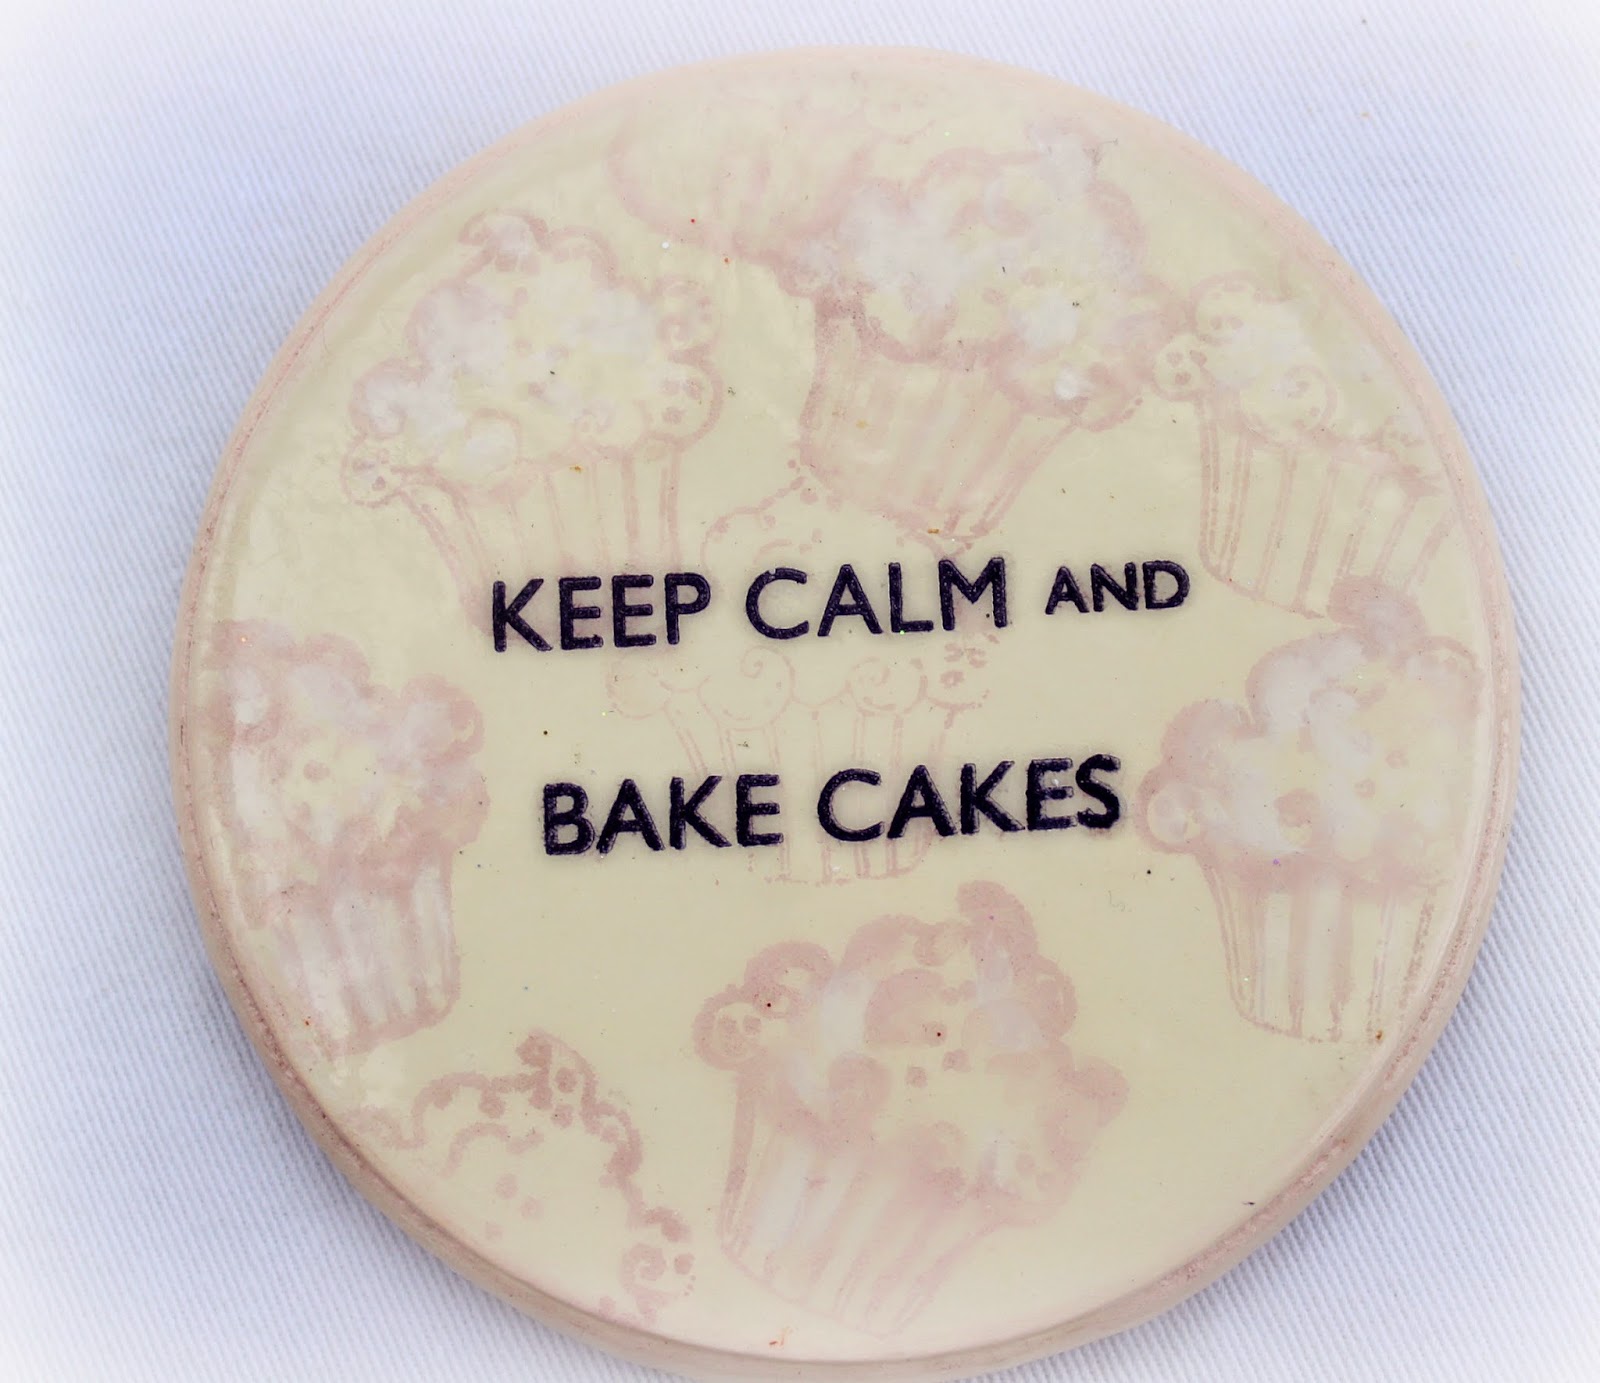
After doing some research on her blog and agonising over what to do for a while I decided to make her one of my coasters.  Zoe loves baking as well as craft and I was inspired by her baking posts so I made this coaster....


I also made her this Christmas card and sent a couple of candy canes, because they are just so Christmassy


It is always a little nerve racking making a gift for someone you don't know but I was happy to read she was pleased with her gift, phew! You can find out what she thought of it over on her blog, here.

#CraftBlogClub chats are every Tuesday from 7pm (GMT). 2015 is going to be an exciting year for #CraftBlogClub, we have guest hosts and more super challenges planned, it's going to a lot of crafty fun!

fizzi~jayne x

Psst.... I can't wait to see what you have created, so what are you waiting for?! The linky is live below and ready for your Secret Santa posts.

Wednesday, 12 November 2014

Christmas Card String and Peg Tutorial....

I'm so excited to be taking part in Laura's Crafty Christmas Tutorial Link Up today! If you haven't checked out Bugs and Fishes definitely pop by where you'll also find the links for lots more Christmas crafty tutorials.

But first, today I am sharing a free tutorial for a way to show off your Christmas cards in your home.


What I used:

  • The templates provided below
  • Felt, in Christmassy colours
  • Spray starch
  • Wooden pegs
  • Baker's twine / Ribbon
  • Scissors
  • Chalk / pencil
  • Glue - You can use fabric glue but I used Silicone glue - Pinflair Glue Gel.  It bonds anything to anything (in my opinion, I'm yet to find something it can't stick together!). Whatever glue you choose to use, you need something strong enough to bond the felt to the pegs and embellishments.
  • Embellishments of your choice - I used gems, bows and ribbons from my crafty stash


How to make your Christmas Card String with Pegs....

1. First off prepare the felt. In order for them to be more stiff, spray starch liberally on both sides and leave them to dry flat overnight, ideally on a radiator. 

2. Print off and cut out these templates I have drawn for you.
To print templates click on image or click here
3. Draw around the templates on the felt using chalk or a pencil. I prefer chalk as any marks can be brushed off but it's difficult to see on white felt.


4. Cut out the shapes

There isn't a right or wrong side to the template so if you can see pencil marks just flip the felt shape over.


5. Embellishing the felt pieces

For the Stockings

Using cream or white felt you can add a trim.  The guidelines are on the template.


Use glue to bond the trim to the stocking. Hold in place for a few seconds to make sure the glue grabs.

You can decorate your stocking with anything you find in your crafty supplies or craft store.

When using ribbon, glue the ends at the back and wrap around, like so...


I also decorated my stockings with bows and gems found in my crafty stash


I also found this Pom Pom ribbon, perfect!


Candy Canes

To make the candy canes, you will need ribbon.  I cut the canes out of cream felt and used red satin ribbon.


Glue at one end, wrap around the cane and glue the other end.


Top tip 1 - I use a cocktail stick to add glue so not to add too much
Top tip 2 -Use the peg to keep the one end in place


Holly

For the holly I simply cut out green felt with the template and added a button for a berry. You could add red gems or small pom poms or use embroidery thread to create French knots.


6. Now, attach your felt pieces to the pegs by adding glue to the top half of the peg.


7. You can now hang your baker's twine or ribbon on to the wall.  If you don't want to leave permanent marks on your wall I recommend Command Decorating Clips with Clear Strips. I use them for my fairy lights on my mantle piece, they hold really well and come off your wall easily without leaving marks.


Glittery Pegs

For added glitz, why not add glitter?....


As well as Glitter you will need a good PVA, I use Cosmic Shimmer Specialist Acrylic Glue for so many of my crafty projects.  It dries clear and holds brilliantly which will prevent shedding of the glitter. Although I can't guarantee there won't be any glitter shedding, using a good glue along with the following steps will help keep most of it on your peg.


Place the peg on copier paper and cover the peg with the PVA glue


Liberally pour glitter over the peg


Tap off the excess and leave to dry, ideally overnight.  Once dry lightly dust with a soft brush to remove any more excess.

The glitter left on the copier paper can be poured back in the pot.

You can leave them like this or add felt decorations, or have a mix of the two on the string/ribbon.


I hope you have enjoyed this tutorial.  If you make yourself a Christmas card string with pegs I would love to see the photos!  


This tutorial is for non-commercial use only. You can use it to make as many card strings for yourself, gifts or to raise funds for a charity but please don't make any to sell for profit.

If you want to blog about this project, remember to credit me and link back to this page on my blog. Please ask permission before using my photography and please do not reproduce my entire tutorial or share my templates on your site.  Thank you


Please note, the Amazon links are affiliate links which means if you purchase anything I earn a few pennies (and I mean pennies!) to support my work on this blog. I only recommend products I use myself.